
How to Get Thick Foam with Electric Milk Frother for Perfect Coffee
Getting thick foam with an electric milk frother is easy when you know the right techniques. This guide covers everything from choosing the right milk to frothing methods, so you can enjoy perfectly creamy foam for your coffee at home.
Key Takeaways
- Choose the right milk: Whole and fresh milk create thicker foam than skim or plant-based alternatives.
- Use cold milk: Cold milk froths better and gives you creamier foam.
- Fill the frother properly: Avoid overfilling or underfilling to ensure optimal frothing space.
- Warm milk first (optional): Preheating milk slightly can improve foam texture.
- Use the correct frothing setting: Many electric frothers have specific modes for hot or cold foam—choose accordingly.
- Clean the frother regularly: Residue buildup can affect foam quality and frother performance.
- Practice patience: Frothing takes time; don’t rush the process for best results.
How to Get Thick Foam with Electric Milk Frother for Perfect Coffee
If you love café-style coffee at home, thick, creamy foam is a must-have. An electric milk frother is a handy tool that makes this easy, but getting that perfect foam every time takes a little know-how. In this guide, you’ll learn practical tips and step-by-step instructions to create rich, velvety foam that will take your coffee to the next level.
Why Thick Foam Matters
Thick foam adds texture, flavor, and visual appeal to your coffee drinks. Whether you’re making a cappuccino, latte, or macchiato, that creamy layer of foam enhances the overall experience. It holds heat, blends well with espresso, and offers a silky mouthfeel that many coffee lovers crave.
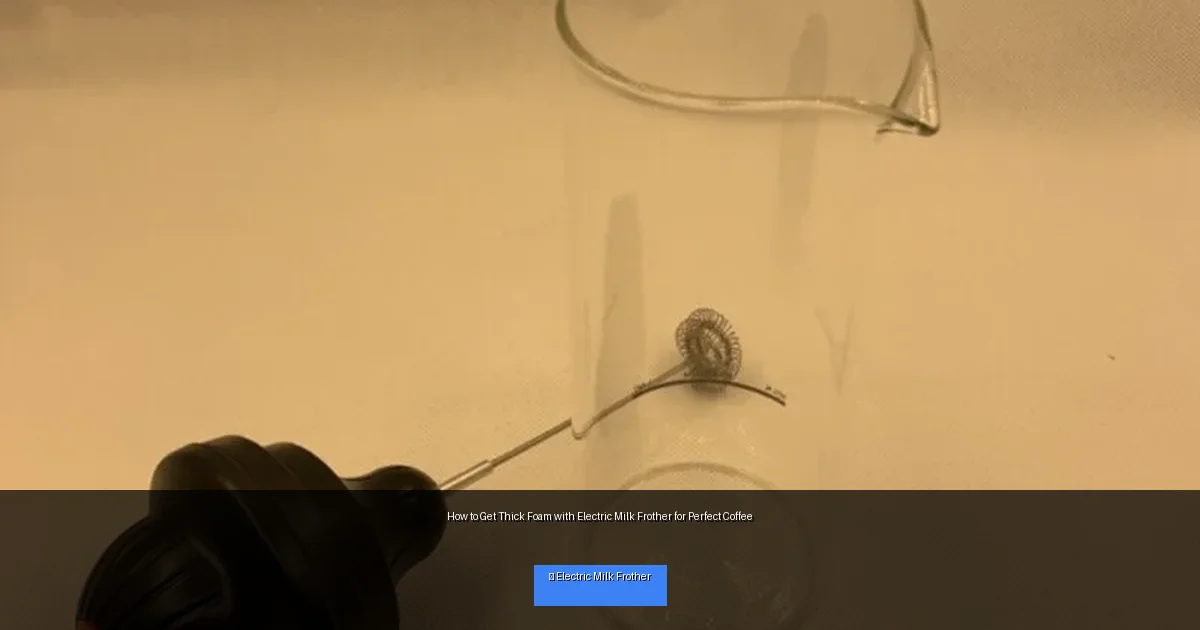
Visual guide about How to Get Thick Foam with Electric Milk Frother for Perfect Coffee
Image source: images.nexusapp.co
Step 1: Choose the Right Milk
Whole Milk is Best for Thick Foam
Milk with higher fat content, like whole milk, produces richer and thicker foam. The fats help create stable bubbles that last longer. Skim milk can froth but tends to produce lighter, airier foam that dissipates quickly.
Consider Freshness and Temperature
Fresh milk froths better. Also, milk that is too warm or old won’t create good foam. Always use cold milk straight from the fridge for the best results.
Non-Dairy Alternatives
Some plant-based milks like oat milk froth well, but results vary. Look for barista blends designed for frothing if you prefer dairy-free options.
Step 2: Prepare Your Electric Milk Frother
Read the Manual
Every frother is a bit different. Take a moment to read your device’s instructions. Know where the max fill line is and which settings are available.
Clean Your Frother
Residue from previous uses can prevent smooth frothing. Rinse and dry the frother before starting.
Fill the Frother Correctly
Pour cold milk into the frother, filling it between the minimum and maximum lines. Too little milk won’t form enough foam, and too much leaves no space for expansion.
Step 3: Froth the Milk
Choose the Right Setting
Most electric frothers have separate modes for hot and cold frothing. For thick foam, select the hot froth setting if you want warm milk, or cold froth if you prefer chilled foam.
Start Frothing
Turn on the frother and let it do its job. Avoid opening the lid during this process to maintain temperature and pressure.
Wait for the Frothing to Finish
The frother usually stops automatically when the foam is ready. This can take 1-3 minutes depending on the model.
Step 4: Enhance Your Foam (Optional)
Warm the Milk Slightly Before Frothing
If your frother doesn’t have a heating function, gently warm milk on the stove or microwave (not boiling) before frothing. Warm milk produces better foam.
Use a Frothing Thermometer
The ideal milk temperature for frothing is between 140°F and 155°F (60-68°C). Too hot or too cold affects foam quality.
Add a Small Amount of Cream
Mixing a bit of cream with milk can increase foam richness, but this is optional and depends on your taste preferences.
Step 5: Pour and Serve
Tap and Swirl the Frother
After frothing, gently tap the container on a flat surface to remove large bubbles. Swirl the milk to keep the foam smooth and creamy.
Pour Carefully
Pour the foam over your coffee slowly. Use a spoon if you want to control how much foam goes in your cup.
Practical Tips for Thick Foam
- Use fresh, cold whole milk for best results.
- Don’t overfill the frother—leave room for foam expansion.
- Froth milk immediately after pouring it into the frother to keep it cold.
- Keep the frother clean to avoid residue affecting foam texture.
- Practice makes perfect—experiment with milk types and frother settings.
Troubleshooting Common Issues
Foam is Thin and Watery
Use whole milk instead of skim or low-fat. Make sure milk is cold. Check if the frother is clean.
No Foam Forms
Check if the frother is working properly and fully charged or plugged in. Ensure you’re using enough milk but not overfilling. Try a different milk brand.
Foam Collapses Quickly
Foam can collapse if milk is too warm or old. Use fresh milk and avoid overheating. Tap and swirl gently after frothing.
Frother Makes Strange Noises
Clean the whisk and container. If the problem persists, consult the user manual or contact customer support.
Conclusion
Creating thick foam with an electric milk frother is simple once you know the right steps. By choosing the right milk, preparing your frother properly, and using the correct settings, you can achieve creamy, rich foam that elevates your coffee experience. Remember to keep your frother clean and experiment a little to find your perfect foam consistency. Enjoy your café-quality coffee at home every day!
🎥 Related Video: how to make perfect cold foam
📺 Ethan Rode

