
Cleaning your electric milk frother is essential for maintaining its performance and ensuring delicious, creamy coffee. This guide offers simple, step-by-step instructions to clean your frother thoroughly, including tips, troubleshooting, and practical advice to keep your device in top condition.
Key Takeaways
- Regular cleaning: Keeps your frother hygienic and extends its lifespan.
- Use gentle cleaning agents: Avoid harsh chemicals that can damage the frother.
- Disassemble carefully: Remove detachable parts for thorough cleaning.
- Clean after each use: Prevents milk residue buildup and ensures better frothing.
- Handle electrical components with care: Avoid submerging the base in water.
- Descale when necessary: Maintain performance by removing mineral buildup.
- Troubleshoot common issues: Learn how to fix frothing problems caused by residue.
How to Clean Electric Milk Frother for Effortless Coffee Enjoyment
If you love frothy coffee drinks, your electric milk frother is a must-have kitchen gadget. But to keep it working well and your coffee tasting great, regular cleaning is key. In this guide, you’ll learn how to clean your electric milk frother step by step. We’ll cover everything from daily maintenance to deep cleaning and troubleshooting common issues. With these simple tips, your frother will stay fresh, hygienic, and ready to create creamy foam whenever you want.
Why Cleaning Your Electric Milk Frother Matters
Milk frothers deal with dairy, which can spoil quickly and leave behind residue. If not cleaned properly, milk residue can clog your frother, cause unpleasant odors, and even affect the taste of your coffee. Regular cleaning prevents bacteria buildup and prolongs the life of your frother. Plus, a clean frother ensures smooth frothing and delicious, consistent foam every time.
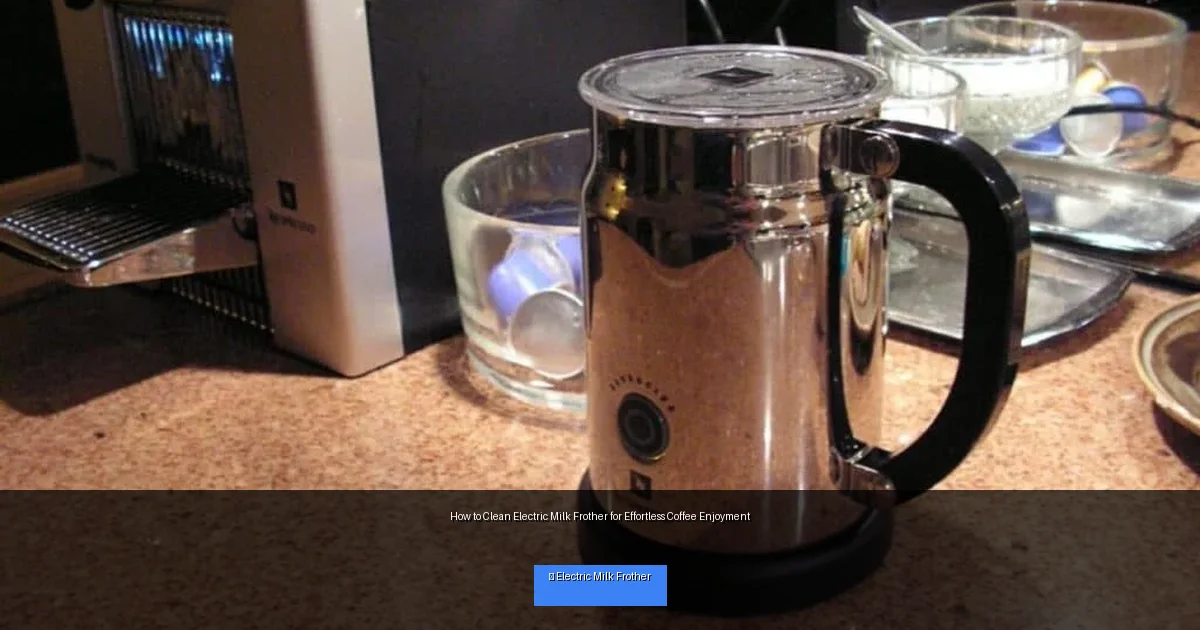
Visual guide about How to Clean Electric Milk Frother for Effortless Coffee Enjoyment
Image source: coffeenatics.com
What You’ll Need to Clean Your Electric Milk Frother
- Warm water
- Mild dish soap
- Soft sponge or cloth
- Small brush or toothbrush
- White vinegar (for descaling)
- Clean, dry towel
Step-by-Step Guide to Cleaning Your Electric Milk Frother
Step 1: Unplug and Disassemble Your Frother
Before cleaning, always unplug the frother to avoid electric shock. Remove any detachable parts such as the lid, whisk, and frothing jug. Check your user manual for instructions on disassembly if you’re unsure.
Step 2: Rinse Immediately After Use
After each use, rinse the frothing jug and whisk under warm water. This prevents milk from drying and sticking. Use a soft cloth or sponge to wipe away any milk residue.
Step 3: Wash Detachable Parts with Soap
Fill your sink or a basin with warm water and add a few drops of mild dish soap. Soak the whisk and jug parts, then clean them gently with a soft sponge or brush. Avoid abrasive materials that can scratch surfaces.
Step 4: Clean the Frother Base Carefully
The electric base should never be submerged in water. Use a damp cloth to wipe the exterior and interior (where the jug sits). If milk has spilled inside, wipe it carefully to prevent damage.
Step 5: Dry All Components Thoroughly
Use a clean towel or air dry the parts completely before reassembling. Moisture left inside can lead to mold or mildew.
Step 6: Deep Clean and Descale Periodically
Mineral deposits from water or milk solids may build up over time. To descale, mix equal parts white vinegar and water. Fill the frothing jug halfway with this solution and let it sit for 15-20 minutes. Then rinse well with warm water and dry. This helps maintain your frother’s performance.
Step 7: Reassemble and Store Properly
Once dry, reassemble your frother and store it in a clean, dry place. Keeping it covered between uses helps prevent dust buildup.
Practical Tips for Keeping Your Frother Clean
- Clean right after use: It’s easier and prevents hardened residue.
- Use fresh milk: Spoiled milk causes bad odors and clogs.
- Avoid harsh detergents: Mild soap protects your frother’s finish.
- Check your manual: Different models may have specific cleaning needs.
- Use a brush for tight spots: To reach whisk crevices and corners.
Troubleshooting Common Cleaning Issues
Problem: Frother Not Frothing Milk Properly
If your frother struggles to create foam, milk residue might be clogging the whisk or jug. Clean the whisk thoroughly and descale the jug. Also, check that the whisk is correctly attached.
Problem: Unpleasant Odors Coming from Frother
This usually means milk residue is trapped inside. Perform a deep clean with vinegar solution and rinse well. Make sure to dry completely before storing.
Problem: Frother Stops Working or Turns Off Unexpectedly
Milk or water may have spilled into the base. Unplug immediately and wipe the base with a dry cloth. Let it dry fully before trying again. If problems persist, consult the manufacturer.
Conclusion
Cleaning your electric milk frother doesn’t have to be a chore. With regular care and simple steps, you’ll keep your frother fresh and functional for years. Remember to clean after every use, deep clean occasionally, and handle electrical parts with care. Doing so guarantees smooth, creamy froth for your coffee enjoyment every time. So grab your sponge and get started – your perfect coffee foam awaits!
🎥 Related Video: How to clean your Nespresso Frother #nespresso #nespressomachine #nespressofrother
📺 Natalie Minassian
About Me Article https://shoutoutdfw.com/meet-natalie-content-creator-accountant/ TIKTOK …
