
Electric Milk Frother Milk Types Guide for Perfect Frothy Drinks
Looking to create café-quality frothy drinks at home? This Electric Milk Frother Milk Types Guide covers everything you need to know about choosing the right milk for your frother. From dairy to plant-based options, learn how different milks froth and get tips for perfect results every time.
Key Takeaways
- Milk fat content matters: Higher fat milks create creamier froth, while low-fat milks produce lighter foam.
- Dairy vs. plant-based milks: Some plant milks froth better than others due to protein content.
- Cold and fresh milk froths best: Always start with cold, fresh milk for optimal frothing results.
- Milk temperature affects froth quality: Heat milk to 140-150°F for the best texture without scorching.
- Different frothers handle milk types differently: Check your frother’s compatibility with various milk types.
- Cleaning your frother is essential: Milk residue affects froth quality and device longevity.
- Troubleshooting common frothing issues: Know how to fix weak froth, burnt taste, or frother malfunctions.
Electric Milk Frother Milk Types Guide for Perfect Frothy Drinks
If you love creamy lattes, cappuccinos, or hot chocolates, an electric milk frother is your best kitchen companion. But did you know the type of milk you use can make or break your frothy beverage? In this guide, you will learn how different milk types behave in electric milk frothers, how to choose the best milk for your taste and dietary needs, and tips to get barista-quality froth every time.
Understanding Milk Frothing Basics
Before diving into milk types, let’s understand what frothing means. Frothing is the process of adding air bubbles into milk to create foam. The milk proteins and fats stabilize these bubbles, giving you that light, creamy foam on top of your coffee or hot drink.
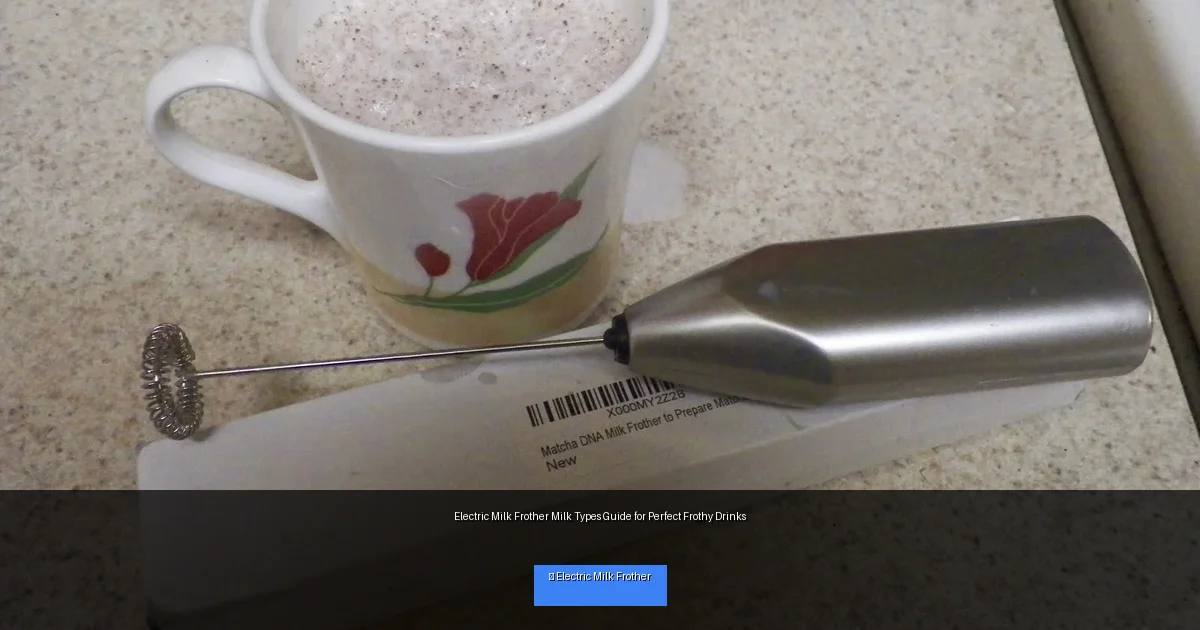
Visual guide about Electric Milk Frother Milk Types Guide for Perfect Frothy Drinks
Image source: 3.bp.blogspot.com
Electric milk frothers use a whisk or steam to agitate the milk, incorporating air and heating it simultaneously or separately. The milk’s composition affects how well it froths and the texture of the foam.
Step 1: Choose the Right Milk Type for Your Frother
Dairy Milk Types
- Whole Milk: Contains about 3.5% fat. Produces rich, creamy froth with a smooth texture. Ideal for traditional lattes and cappuccinos.
- 2% Reduced-Fat Milk: Less fat than whole milk, but still froths well. The foam is lighter and less creamy.
- Skim or Non-Fat Milk: Froths up with big, airy bubbles resulting in a light, dry foam. Less creamy but great if you want low-fat options.
- Ultra-Filtered Milk: Higher protein content, often froths better than regular milk. Check the label for added benefits.
Plant-Based Milk Types
Plant milks vary widely in how they froth due to differences in protein and fat content.
- Oat Milk: One of the best plant-based options for frothing. Creamy texture and stable foam thanks to natural sugars and proteins. Barista oat milk versions are specially formulated for frothing.
- Almond Milk: Froths moderately but can produce less stable foam. Works best when fresh and cold.
- Soy Milk: High in protein, soy milk froths well with creamy foam. Slightly beany taste may appear.
- Coconut Milk: Froths poorly in most cases due to low protein; produces light but unstable foam.
- Rice Milk: Generally does not froth well; thin consistency and low protein.
- Macadamia and Cashew Milk: Froth quality varies by brand; some barista blends froth nicely.
Step 2: Prepare Your Milk Properly
Use Fresh, Cold Milk
Always start with cold, fresh milk. Milk that is too warm or close to expiration won’t froth well. Cold milk helps create a better foam structure.
Measure the Right Amount
Check your frother’s minimum and maximum fill lines. Overfilling can cause poor froth, while underfilling may result in weak foam.
Choose Barista Versions for Plant Milk
If you use plant-based milk, look for “barista” labeled options. These are specially formulated to froth well and have a creamier consistency.
Step 3: Froth Milk Using Your Electric Milk Frother
Follow Your Frother’s Instructions
Every frother is slightly different, so always start by reading the manual. Most electric frothers have separate buttons for hot froth, cold froth, or just heating milk without frothing.
Heat Milk to the Right Temperature
For the best foam, heat milk between 140°F and 150°F (60-65°C). Beyond this, milk proteins begin to break down, and flavor can change. Many electric frothers regulate temperature automatically.
Froth in Intervals if Needed
If your frother doesn’t fully froth in one go, try short bursts of frothing to build up better foam.
Step 4: Pour and Enjoy Your Frothy Drink
Tap and Swirl
After frothing, gently tap the frother on the counter and swirl the milk to eliminate big bubbles and create a silky texture.
Pour Over Coffee or Beverage
Pour the frothed milk slowly over your coffee or hot chocolate. Use a spoon to hold back foam if you want just steamed milk, then top with foam.
Step 5: Clean Your Frother Immediately
Rinse and Wipe
Milk residue can harden and affect future frothing. Rinse the frother with warm water and wipe the whisk or frothing mechanism after each use.
Deep Clean Weekly
Use mild detergent or vinegar solutions occasionally to remove milk build-up.
Practical Tips for Perfect Frothy Drinks
- Experiment with milk types: Try different milks to find your favorite froth and flavor combination.
- Use whole milk for richest foam: If you’re not avoiding dairy, whole milk is the easiest to froth and tastes great.
- Try barista blends for plant milk: These often have added stabilizers for better frothing.
- Don’t overheat milk: It ruins the taste and froth quality.
- Store milk properly: Fresher milk froths better.
- Practice latte art: Once you nail frothing, have fun pouring patterns!
Troubleshooting Common Frothing Issues
Weak or No Froth
- Milk too warm or old – use fresh, cold milk.
- Wrong milk type – try higher protein or fat milk.
- Frother not clean – residue blocks frothing.
- Insufficient milk volume – fill between min and max lines.
Bitter or Burnt Taste
- Milk overheated – avoid going above 150°F.
- Milk residue burnt on whisk – clean thoroughly.
- Frother malfunction – check device or reset.
Froth Collapses Quickly
- Milk too low in protein or fat – switch milk type.
- Large bubbles – tap and swirl milk gently.
Conclusion
Mastering the art of frothing milk with an electric milk frother starts with choosing the right milk. Whether you prefer creamy whole milk or a plant-based alternative, understanding how each type behaves will help you create cafe-quality frothy drinks at home. Remember to use cold, fresh milk, follow your frother’s instructions, and keep your device clean for the best results. With practice and the right milk, your morning coffee or evening hot chocolate will be elevated to new heights of deliciousness!
🎥 Related Video: The Best Milk Frothers (Handheld and Countertop) | America's Test Kitchen (S24 E4)
📺 America’s Test Kitchen
Frothed milk is a must-have for cappuccinos and lattes. Which model can create the perfect foam at home? Buy the Breville …

