
Using an electric milk frother is an easy way to elevate your coffee experience at home. This guide shows you how to froth milk perfectly, whether you want hot or cold foam. Follow simple steps to make creamy, barista-quality coffee drinks with ease.
Key Takeaways
- Easy to use: Electric milk frothers simplify frothing milk for your coffee drinks.
- Choose the right milk: Different milk types affect froth quality and taste.
- Measure milk properly: Avoid overfilling to get the best foam texture.
- Follow device instructions: Each frother may have unique features and settings.
- Cleaning is crucial: Regular cleaning keeps your frother working well and tasting fresh.
- Troubleshoot common issues: Learn how to fix problems like weak froth or overheating.
How Do You Use an Electric Milk Frother for Perfect Coffee
If you love coffee drinks like lattes, cappuccinos, or macchiatos, you know that rich, creamy milk foam can make all the difference. Using an electric milk frother is a fantastic way to get that frothy texture without needing a fancy espresso machine. In this guide, you’ll learn exactly how to use an electric milk frother to create perfect coffee every time. We’ll cover the basics, step-by-step instructions, tips, and even troubleshooting advice to help you master your frother.
What Is an Electric Milk Frother?
An electric milk frother is a small kitchen device designed to heat and froth milk quickly and easily. It usually has a built-in whisk and heating element. With just the push of a button, it can create creamy, thick milk foam for your coffee drinks. Some models froth cold milk too, perfect for iced beverages.
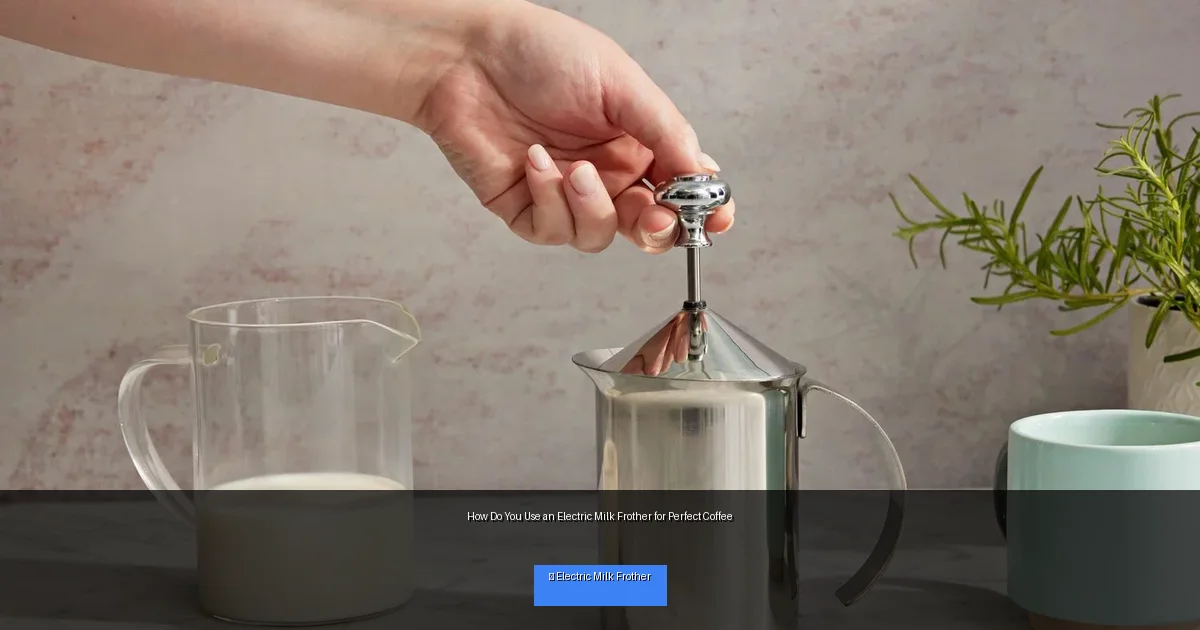
Visual guide about How Do You Use an Electric Milk Frother for Perfect Coffee
Image source: coffeedeets.com
Step 1: Choose the Right Milk for Frothing
The type of milk you use affects the quality of your foam. Here’s what to consider:
Dairy Milk
- Whole milk: Froths well and creates creamy, rich foam.
- 2% or skim milk: Produces lighter, airier foam but less creamy.
Non-Dairy Milk
- Almond milk: Froths moderately; choose barista blends for best results.
- Soy milk: Fizzes and froths well, especially barista versions.
- Oat milk: Creamy and frothy, popular for coffee.
Tip: Barista-style non-dairy milks are specially formulated to froth better.
Step 2: Measure the Milk Correctly
Most electric frothers have a fill line inside the jug. Overfilling can cause spillage or weak froth.
- Fill milk only up to the max fill line.
- For cold frothing, fill to the cold milk line if available.
- Leave enough space for the milk to expand as it froths.
Step 3: Prepare the Electric Milk Frother
Before you start, make sure your frother is clean and dry. Here’s what to do:
- Place the frother on a flat, stable surface.
- Insert the whisk or frothing disk that came with your device.
- Add the measured milk inside the jug.
Step 4: Select the Frothing Mode
Most electric milk frothers offer multiple settings:
- Hot froth: Heats and froths milk simultaneously for warm foam.
- Cold froth: Froths milk without heating, perfect for iced drinks.
- Heat only: Just warms milk without frothing.
Choose the setting that fits your coffee drink. For a hot latte, select hot froth. For an iced cappuccino, select cold froth.
Step 5: Froth the Milk
Now the fun part! Follow these steps:
Start the Frother
- Press the start button to begin frothing.
- The whisk will spin and the heating element will warm the milk (if hot froth selected).
Wait for Completion
- Most frothers automatically stop after a set time.
- Don’t open the lid during frothing to avoid spills.
Check the Foam
- Once done, check the milk foam’s texture. It should be creamy and airy.
- If the foam is too thin, you can repeat the frothing cycle.
Step 6: Add Frothy Milk to Your Coffee
Pour your freshly brewed coffee into a cup. Then gently pour the frothed milk over it. For cappuccinos, you want more foam on top. For lattes, pour milk first, then add a thin layer of foam.
Tips for Perfect Frothing
- Use fresh, cold milk: Milk froths best when cold.
- Clean frother after every use: Avoids buildup that affects froth quality.
- Experiment with milk types: Find your favorite taste and foam style.
- Don’t overfill: Milk needs room to expand during frothing.
- Pre-warm milk if needed: Some frothers work better with slightly warm milk.
Troubleshooting Common Issues
Milk Not Frothing Properly
- Check if you used the right milk. Low-fat milk can create less foam.
- Make sure the whisk is properly attached and clean.
- Don’t overfill the jug.
Frother Overheating or Shutting Off
- Give the frother time to cool between uses.
- Check for milk residue blocking sensors or vents.
- Ensure you’re not running the frother longer than recommended.
Foam Is Too Thin or Too Dense
- Try using a different milk type or brand.
- Adjust frothing time if your frother allows it.
- Make sure the milk is fresh and cold.
How to Clean Your Electric Milk Frother
Regular cleaning keeps your frother working well and tasting great.
- Unplug the device and let it cool.
- Remove the whisk and wash it with warm, soapy water.
- Wipe the inside of the jug with a damp cloth.
- Don’t immerse the base or electrical parts in water.
- Dry all parts thoroughly before reassembling.
Conclusion
Using an electric milk frother is a simple way to enhance your coffee experience at home. With just a few easy steps, you can create creamy, delicious milk foam for lattes, cappuccinos, and more. Remember to choose the right milk, measure carefully, and keep your frother clean for the best results. With a little practice, you’ll be making coffee shop-quality drinks in no time!
🎥 Related Video: How To Use Electric Milk Frother
📺 CoffeeMugs365
Automatic Hot and Cold Foam Maker and Milk Warmer for Espresso, Latte, Cappuccino, Macchiato. Milk frother makes hot and …

