
Cleaning and maintaining your electric milk frother is key to enjoying perfect frothy milk every time. In this guide, you’ll learn how to open electric milk frother models safely and effectively for hassle-free cleaning and upkeep. With clear steps and helpful tips, keeping your frother clean has never been easier.
Key Takeaways
- Understand your model: Different electric milk frothers have unique designs; knowing your model helps in opening it correctly.
- Unplug before opening: Always disconnect the frother from power to ensure safety before attempting to open it.
- Remove detachable parts first: Most frothers have removable lids, whisks, and containers that come off easily for cleaning.
- Use gentle tools if needed: If the frother is sealed tightly, use plastic pry tools to avoid damage.
- Regular cleaning prevents buildup: Opening and cleaning your frother prevents milk residue buildup and extends device life.
- Follow manufacturer instructions: Always check the user manual for specific opening and cleaning guidelines.
- Troubleshoot carefully: If the frother won’t open or parts are stuck, applying gentle pressure or soaking can help without causing harm.
How to Open Electric Milk Frother for Easy Cleaning and Maintenance
Electric milk frothers are fantastic devices that help you create creamy, frothy milk at home with ease. Regular cleaning and maintenance are essential to keep them working well and to ensure your drinks taste great every time. However, many people find it tricky to open their milk frother without damaging it. This guide will walk you through exactly how to open electric milk frother models safely and efficiently, so you can keep yours spotless and in top condition.
Why Opening Your Electric Milk Frother Is Important
Milk frothers come into contact with dairy or plant milk, which can leave residues and buildup if not cleaned properly. Over time, this can affect the taste of your milk froth and even damage the frother’s heating or whisking mechanisms. Opening the frother allows you to:
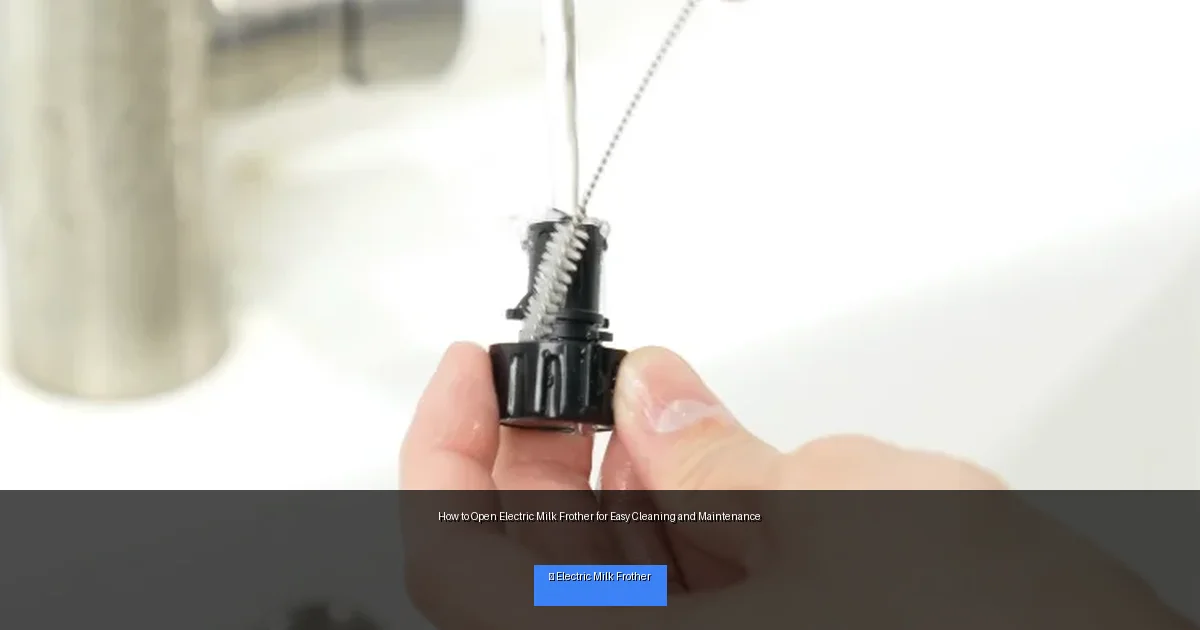
Visual guide about How to Open Electric Milk Frother for Easy Cleaning and Maintenance
Image source: img.staticdj.com
- Clean all milk residue thoroughly.
- Inspect internal parts for wear or damage.
- Maintain optimal performance and hygiene.
Knowing the right way to open your frother prevents accidental damage and makes cleaning easier.
Step 1: Unplug and Prepare Your Frother
Safety first! Before opening your electric milk frother, always unplug it from the power source. This eliminates any risk of electric shock or accidental activation.
Gather Cleaning Supplies
- Soft cloth or sponge
- Warm soapy water
- Plastic pry tool (optional)
- Small brush or toothbrush
- Towel for drying
Having these ready will make your cleaning process smooth once you open the frother.
Step 2: Identify Removable Parts
Most electric milk frothers have several parts you can remove easily without tools. These usually include:
- Lid: Usually snaps or twists off.
- Whisk or frothing disk: Detaches from the base or motor spindle.
- Milk container or jug: Often separates from the heating base.
Check your user manual for diagrams or instructions specific to your model. This will help you avoid forcing parts that aren’t meant to come off.
Removing the Lid
Grip the lid firmly and twist or pull gently to remove. If it’s stuck, try wiggling it slightly while pulling. Avoid using excessive force as this can crack plastic lids.
Detaching the Whisk
The whisk is usually attached magnetically or clipped onto a spindle. Gently pull it straight up. If it resists, don’t yank; instead, wiggle it carefully or consult the manual.
Separating the Container
Most frothers have the container resting on a heating base. Lift the container straight up. If it’s stuck due to dried milk, soak the bottom edge with warm water to loosen the seal.
Step 3: Opening the Base or Inner Components (If Applicable)
Some electric milk frothers have sealed bases or inner compartments that users can open for deep cleaning or maintenance. This step requires more care.
Check for Screws or Clips
Look underneath or around the base for small screws or clips holding the casing together. Use an appropriate screwdriver to remove screws gently.
Use Plastic Pry Tools
If there are no screws, the base might snap together. Use a plastic pry tool or an old credit card to gently separate the casing along the seam. Slowly work your way around the base, prying open carefully.
Important: Avoid metal tools to prevent scratching or damaging your frother.
Be Mindful of Wiring and Components
Once open, you may see wiring or electronics. Don’t pull on wires or touch the circuit board directly. Use a soft brush or cloth to clean around these areas.
Step 4: Cleaning the Opened Parts
After opening your electric milk frother, clean all accessible parts thoroughly.
- Wash removable containers and lids: Use warm, soapy water and a sponge. Avoid abrasives.
- Clean the whisk: Rinse under running water, and use a brush for stubborn milk residues.
- Wipe the base and motor area: Use a damp cloth carefully, avoiding water entry into electrical components.
Dry all parts fully before reassembling.
Step 5: Reassemble Your Electric Milk Frother
Once everything is clean and dry, put your frother back together.
- Attach the whisk back onto the spindle or magnetic base.
- Place the container firmly onto the heating base.
- Snap or screw the base casing back if opened.
- Secure the lid on top.
Make sure all parts fit snugly to prevent leaks or malfunction.
Tips for Maintaining Your Electric Milk Frother
- Clean your frother after every use to prevent buildup.
- Use fresh milk to avoid spoilage inside the device.
- Descale your frother occasionally if you use hard water.
- Store with the lid off to let the interior dry fully.
- Follow manufacturer cleaning instructions carefully.
Troubleshooting Common Issues When Opening Your Frother
The Lid or Parts Are Stuck
Try soaking the frother parts in warm water for 10-15 minutes to loosen dried milk or residue. Use gentle twisting and pulling after soaking.
The Whisk Won’t Detach
Apply a little cooking oil to the whisk base to loosen any sticky buildup, then gently wiggle it free.
The Base Won’t Open
If the base is sealed without screws, forcing open can damage the device. Refer to your manual or contact the manufacturer for guidance.
Conclusion
Knowing how to open electric milk frother correctly is a simple way to keep your device clean and functioning well. By following the steps above, you’ll be able to safely disassemble, clean, and maintain your frother without hassle. Regular care ensures delicious, creamy froth every time and extends the life of your appliance. Remember to always prioritize safety by unplugging before opening and consult your user manual for model-specific advice. Happy frothing!
🎥 Related Video: #easy #disassembly of Nespresso #milk #frother #repairing #electronic
📺 The Tech Collection
Easy disassembly of Nespresso Milk Frother.
