
Using an electric milk frother is a simple way to elevate your coffee experience at home. This guide covers everything from preparation to frothing techniques, ensuring you achieve silky, creamy milk froth for your lattes, cappuccinos, and more with ease.
Key Takeaways
- Choose the right milk: Different milk types froth differently; whole milk creates creamier froth, while plant-based milks may vary.
- Prepare your frother properly: Clean and assemble your electric milk frother before use for best results.
- Follow step-by-step instructions: Heating and frothing milk correctly ensures smooth, rich foam.
- Use the right temperature: Milk heated between 140°F and 160°F froths best without scorching.
- Clean immediately after use: Prevent buildup and maintain frother longevity.
- Troubleshoot common issues: Address problems like weak froth or overheating with simple fixes.
- Experiment and enjoy: Customize your froth thickness and coffee drinks to your taste.
How to Use an Electric Milk Frother for Perfect Coffee Every Time
If you love café-quality coffee but want to enjoy it in the comfort of your home, mastering an electric milk frother is a game changer. This guide will teach you how to use an electric milk frother step-by-step to create creamy, velvety froth that enhances any coffee drink — from lattes to cappuccinos and more.
We’ll cover everything from selecting the right milk, preparing your frother, frothing techniques, cleaning tips, and troubleshooting common issues. By the end, you’ll be making barista-style coffee with perfectly frothed milk every time.
Step 1: Choose the Right Milk for Frothing
The type of milk you use greatly affects the texture and taste of your froth.
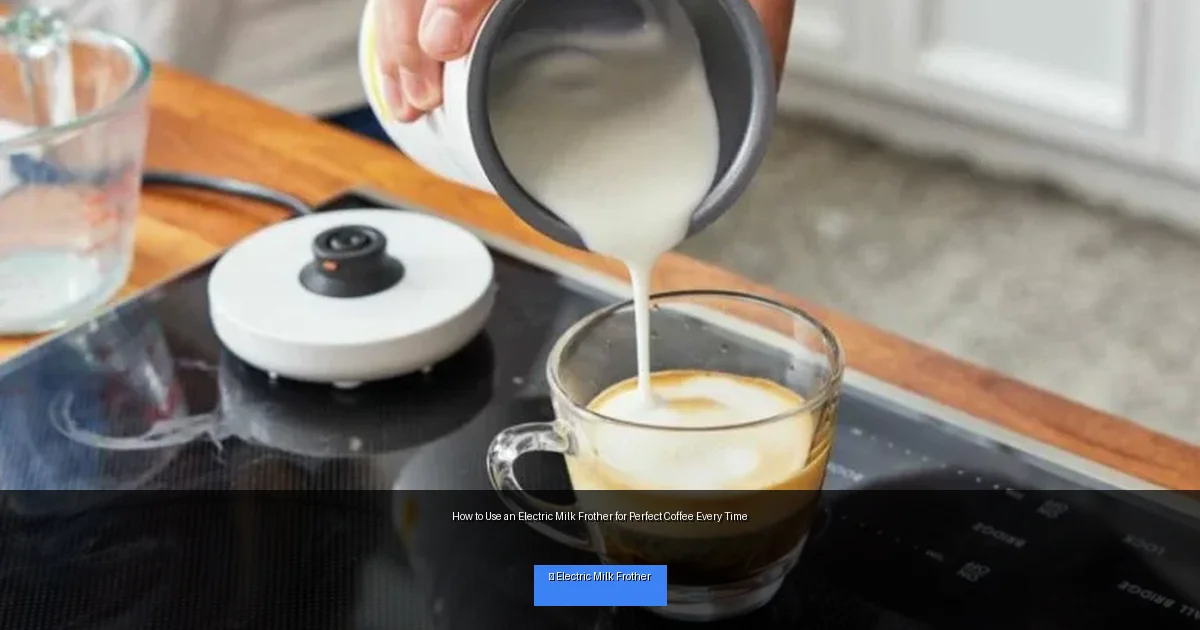
Visual guide about How to Use an Electric Milk Frother for Perfect Coffee Every Time
Image source: coffeedeets.com
Whole Milk
Whole milk is ideal for frothing because its fat content creates rich, creamy foam. It produces a smooth texture that blends well with coffee.
Low-fat and Skim Milk
Low-fat and skim milk create lighter, airier froth due to lower fat content. The foam tends to be less creamy but still enjoyable.
Plant-Based Milks
Almond, soy, oat, and coconut milks can be frothed, but results vary. Oat milk froths well and is a popular choice. Some plant milks may not produce stable foam, so check your frother’s manual for recommendations.
Step 2: Prepare Your Electric Milk Frother
Before you start, make sure your frother is clean and assembled correctly.
Clean the Frother
Rinse the frother jug and whisk to remove any residue from previous use. This prevents contamination and ensures the best frothing results.
Assemble the Whisk
Most electric frothers come with a detachable whisk. Attach it securely to the frother’s base according to the instructions.
Measure the Milk
Pour cold milk into the frother jug, staying between the minimum and maximum fill lines. Overfilling can cause spills and underfilling may not froth properly.
Step 3: Froth the Milk
Now that your milk and frother are ready, it’s time to froth!
Select the Frothing Mode
Many electric frothers have options for hot froth, cold froth, or just heating milk. Choose the setting based on your preference.
Start the Frother
Press the start button. The whisk will spin and heat the milk simultaneously, creating rich foam. Frothing usually takes between 1 to 3 minutes depending on your device.
Check the Froth
Once the frother stops, open the lid and check the foam. It should be creamy and thick. If it is too thin, you can repeat the frothing process.
Step 4: Add Froth to Your Coffee
Pour your freshly brewed coffee into a mug. Gently spoon or pour the milk froth on top. Use a spoon for thick foam or tilt the frother jug to pour milk and foam together.
Try Latte Art (Optional)
If you feel adventurous, practice simple latte art by pouring the froth carefully to create patterns. This adds a professional touch to your homemade coffee.
Step 5: Clean Your Electric Milk Frother
Cleaning immediately after use keeps your frother in good condition.
Unplug and Cool Down
Turn off and unplug the frother. Let it cool before cleaning to avoid burns.
Rinse the Jug and Whisk
Remove the whisk and rinse both parts with warm, soapy water. Use a soft sponge to avoid scratches.
Wipe the Base
Use a damp cloth to wipe the frother’s exterior and the base unit. Never immerse the base in water.
Troubleshooting Common Issues
Milk Does Not Froth Well
- Ensure you are using fresh, cold milk within the recommended fill lines.
- Try a different milk type if your current one doesn’t froth well.
- Check if the whisk is properly attached and clean.
Frother Overheats or Shuts Off
- Do not overfill the frother.
- Give the motor time to cool between uses.
- Refer to your user manual for safety features and warnings.
Froth is Too Thin or Weak
- Use whole milk or milk with higher protein content.
- Froth the milk for a longer time if your frother allows.
- Make sure the frother is clean and whisk is working properly.
Tips for Perfect Froth Every Time
- Use fresh, cold milk straight from the fridge.
- Clean your frother regularly to avoid buildup.
- Experiment with milk temperature and frothing times to find your ideal texture.
- Practice pouring techniques to enhance your coffee presentation.
- Invest in a quality electric milk frother with multiple settings for versatility.
Conclusion
Using an electric milk frother is a quick and easy way to create café-style coffee drinks at home. By selecting the right milk, preparing your frother properly, and following the simple steps outlined here, you can enjoy rich, creamy froth that elevates your coffee experience daily.
Don’t be afraid to experiment and find what works best for your taste. With a little practice, you’ll be crafting perfect coffee drinks that rival your favorite coffee shop — every time. Happy frothing!
🎥 Related Video: The secret to the best hot cocoa / milk frother hack
📺 Home Sweet Pink
