
Discover the secrets to making perfectly frothy drinks using your electric milk frother. This guide covers essential tips, step-by-step instructions, and troubleshooting advice to help you achieve creamy, café-quality froth right at home.
Key Takeaways
- Choose the right milk: Different milk types froth differently; whole milk creates creamier froth, while plant-based options vary.
- Use cold milk: Starting with cold milk helps produce better foam and texture.
- Fill to recommended levels: Overfilling or underfilling affects frothing quality and device performance.
- Clean your frother regularly: Proper cleaning prevents buildup and ensures consistent froth.
- Experiment with temperature settings: Some frothers offer cold and hot frothing options—choose based on your drink preference.
- Practice makes perfect: Adjust frothing time and milk type to find your ideal foam consistency.
- Troubleshoot common issues: Learn to fix froth that’s too thin, too dense, or uneven.
Electric Milk Frother Tips and Tricks for Perfect Frothy Drinks
If you love café-style drinks, an electric milk frother is a must-have. But getting that perfect frothy milk can sometimes feel tricky. Don’t worry! This guide will teach you everything you need to know to make creamy, frothy drinks with ease.
From choosing the right milk to mastering frothing techniques and cleaning your device, we cover it all. Follow along to become a frothing pro and enjoy delicious lattes, cappuccinos, and more at home.
Step 1: Selecting the Best Milk for Frothing
Whole Milk vs. Low-Fat and Skim Milk
Whole milk is ideal for frothing because it has the right balance of fat and proteins to create rich, creamy foam. Low-fat and skim milk can froth too but often produce lighter, airier foam with less creaminess.
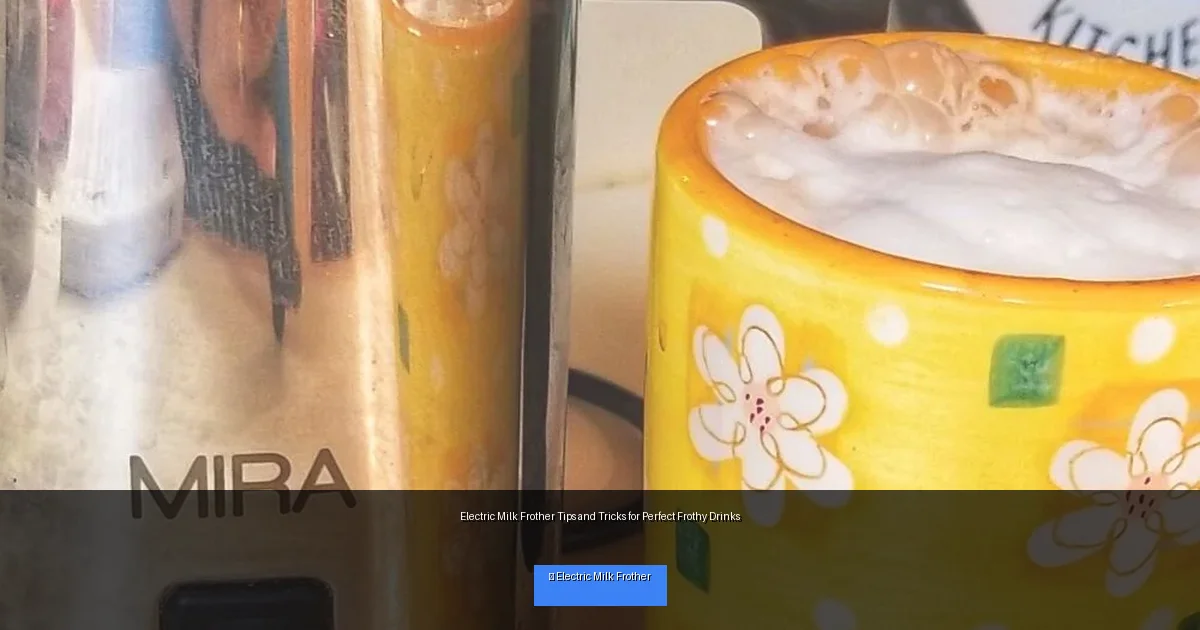
Visual guide about Electric Milk Frother Tips and Tricks for Perfect Frothy Drinks
Image source: daybydayinourworld.com
Plant-Based Milks
Almond, oat, soy, and coconut milk can all froth, but the texture varies. Oat milk typically froths best among plant-based options, producing creamy, stable foam. Experiment with brands because some are specially formulated for frothing.
Tip:
Use fresh milk for the best results. Milk that’s close to its expiration date often froths poorly.
Step 2: Prepare Your Milk and Frother
Start with Cold Milk
Cold milk froths better because it allows the frother to aerate the milk properly. Pour your milk straight from the fridge.
Measure Correctly
Check the frother’s max and min fill lines. Overfilling can cause overflow and underfilling may prevent the whisk from spinning properly.
Tip:
Use a measuring cup or pour carefully to avoid spilling and to get consistent froth every time.
Step 3: Frothing Milk Using Your Electric Milk Frother
Turn It On and Select Settings
Most frothers have hot and cold frothing options. Choose hot froth for lattes and cappuccinos, and cold froth for iced drinks.
Let the Frother Do Its Work
Place the lid securely and start the frother. Avoid opening the lid mid-cycle as this can disrupt the froth formation.
Tip:
If your frother allows, experiment with frothing times. A longer cycle can create denser foam, while a shorter one produces lighter bubbles.
Step 4: Pour and Enjoy Your Frothy Drink
Swirl and Tap the Frother
After frothing, gently swirl the frother to combine milk and foam for smooth texture. Tap the container on the counter to release large bubbles.
Pour Carefully
Pour the milk slowly over your coffee or hot chocolate. Use a spoon to hold back foam if you want to add it on top separately.
Tip:
Try latte art by pouring foam in a steady stream and moving your wrist to create patterns.
Step 5: Cleaning Your Electric Milk Frother
Unplug and Cool Down
Always unplug your frother and let it cool before cleaning.
Wash the Whisk and Container
Remove the whisk and wash it along with the container using warm soapy water. Some parts may be dishwasher safe—check your frother’s manual.
Wipe the Exterior
Use a damp cloth to clean the outside. Never immerse the electric base in water.
Tip:
Clean your frother after every use to avoid milk residue buildup, which can affect performance and hygiene.
Troubleshooting Common Frothing Problems
Milk Not Frothing or Frothing Poorly
- Check if milk is fresh and cold.
- Ensure you are not over or underfilling the frother.
- Clean the whisk and container thoroughly.
- Try a different milk type, especially if using plant-based milk.
Foam is Too Thin or Collapses Quickly
- Use milk with higher protein content.
- Try frothing for a slightly longer time.
- Make sure the frother is fully charged or plugged in.
Frother Won’t Turn On
- Check power connection and battery status.
- Ensure the lid is properly closed; some frothers won’t operate if the lid is off.
- Consult the user manual for reset instructions.
Additional Tips and Tricks for Frothy Success
- Preheat your cup: Warm your mug with hot water before pouring milk to keep your drink hot longer.
- Use a thermometer: Milk froths best between 140°F and 160°F (60°C-71°C). Avoid overheating to prevent burning.
- Try flavored milk: Vanilla or chocolate milk can add delicious twists to your frothy drinks.
- Practice latte art: With patience, you can create beautiful designs that impress friends and family.
Conclusion
Mastering your electric milk frother is easier than you think. With the right milk, proper preparation, and a bit of practice, you’ll enjoy perfectly frothy drinks every time. Remember to clean your frother regularly and troubleshoot any issues promptly. Soon, you’ll create café-quality lattes, cappuccinos, and more right in your own kitchen. Happy frothing!
🎥 Related Video: The secret to the best hot cocoa / milk frother hack
📺 Home Sweet Pink

