
Electric milk frothers are great for making creamy coffee drinks at home, but sometimes they don’t work as expected. This guide helps you quickly identify and fix common problems, so you can enjoy perfect froth every time with simple troubleshooting steps anyone can follow.
Key Takeaways
- Common Issues: Identify frequent problems like no power, weak froth, or unusual noises.
- Basic Troubleshooting: Learn simple checks such as power source, cleaning, and assembly.
- Step-by-Step Fixes: Follow clear instructions to resolve issues quickly and safely.
- Maintenance Tips: Keep your frother in top shape with regular cleaning and care.
- When to Seek Help: Know when a problem requires professional repair or replacement.
- Safety First: Always unplug before troubleshooting and handle with care.
Electric Milk Frother Troubleshooting Guide to Fix Common Issues Quickly
If you love frothy lattes and cappuccinos, an electric milk frother is a must-have. But what happens when your frother stops working or doesn’t perform well? Don’t worry! In this guide, you will learn how to troubleshoot common issues with your electric milk frother step-by-step. We will cover everything from power problems to cleaning tips, so you can fix your frother quickly and get back to enjoying your favorite drinks.
Understanding Your Electric Milk Frother
Before diving into troubleshooting, it helps to understand how your electric milk frother works. Most frothers use a small motor to spin a whisk or frothing disk, creating foam by aerating the milk. Some models also heat the milk while frothing. Common parts include the base, the frothing jug or container, the whisk, and the power cord or battery compartment.
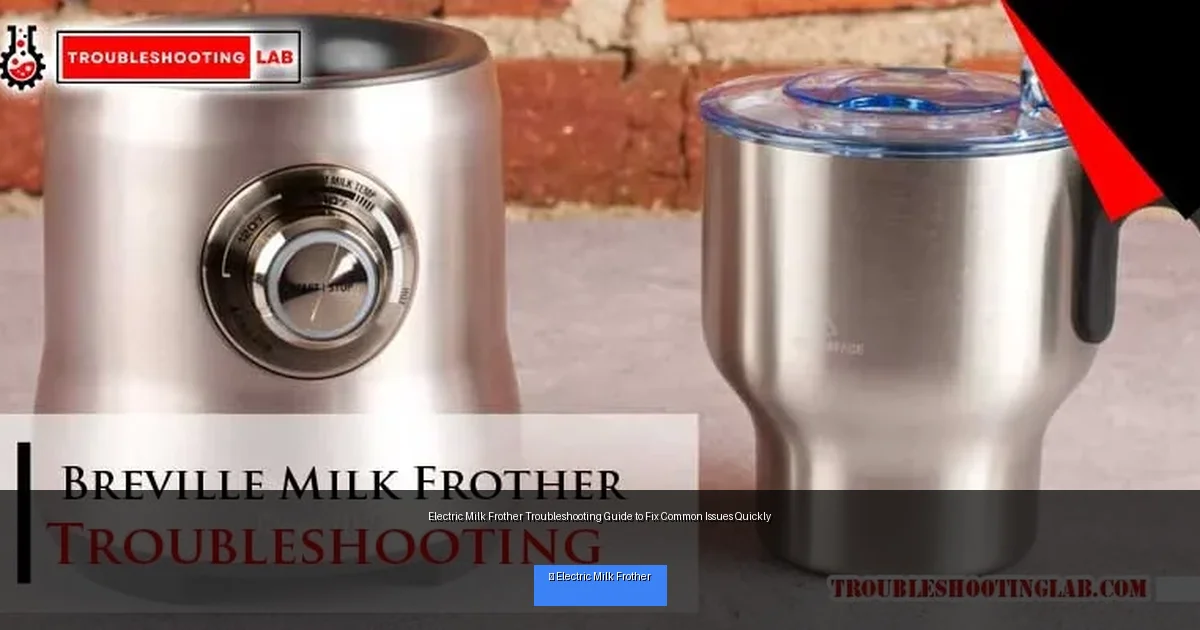
Visual guide about Electric Milk Frother Troubleshooting Guide to Fix Common Issues Quickly
Image source: troubleshootinglab.com
Common Electric Milk Frother Problems and How to Fix Them
1. Frother Won’t Turn On
If your frother won’t start, it could be due to simple issues like power or assembly errors.
- Check the power source: Make sure the frother is plugged in securely or that batteries are fresh and inserted correctly.
- Inspect the power button: Press it firmly. Some models require holding the button for a second or two.
- Look for damage: Examine the power cord for cuts or frays and the plug for bent prongs.
- Reset if available: Some frothers have a reset button or need to be unplugged for a minute.
2. Weak or No Froth
If the frother runs but doesn’t create enough foam, the problem might be the milk type, temperature, or cleanliness of the whisk.
- Use the right milk: Whole milk froths best. Non-dairy or low-fat milk may not foam well.
- Milk temperature: Cold milk froths better, but some frothers need warm milk. Check your model’s instructions.
- Clean the whisk: Residue blocks frothing. Wash the whisk and container thoroughly after each use.
- Check whisk attachment: Make sure the whisk is attached correctly and spins freely.
3. Unusual Noise or Vibration
Strange sounds or shaking can indicate mechanical issues or misalignment.
- Stop using immediately: To avoid further damage.
- Check for foreign objects: Remove any debris inside the frother.
- Inspect the whisk and base: Ensure the whisk isn’t bent and the base is stable.
- Reassemble carefully: Sometimes improper assembly causes noise.
4. Frother Stops Mid-Cycle
Your frother may shut off suddenly due to overheating or electrical faults.
- Allow cooldown: If the frother feels hot, unplug and wait 15-30 minutes.
- Check milk quantity: Overfilling can cause the motor to strain.
- Inspect power connection: Loose plugs can interrupt power.
- Review user manual: Some models have auto shut-off features.
Step-by-Step Troubleshooting Instructions
Step 1: Safety First
Always unplug your frother before cleaning or inspecting internal parts. Avoid water contact with electrical components to prevent shocks.
Step 2: Clean Thoroughly
Disassemble the frother according to the manual. Clean the whisk, jug, and lid with warm soapy water. Dry completely before reassembling.
Step 3: Check Power and Assembly
Confirm the power source is working. Plug into a different outlet or swap batteries if needed. Attach all parts securely.
Step 4: Test With Proper Milk
Use cold whole milk for best frothing. Pour the correct amount (not exceeding max line). Start the frother and observe.
Step 5: Listen and Observe
Watch for smooth operation, proper whisk spinning, and foam formation. If problems persist, proceed to advanced checks.
Advanced Troubleshooting Tips
Motor Not Running
If the motor doesn’t spin, internal wiring or motor failure may be the cause. Consult the warranty or a professional repair service.
Whisk Replacement
Over time, whisks can wear out or bend. Replace with manufacturer-approved parts to restore frothing quality.
Check for Firmware Updates
Some smart frothers have firmware updates. Check the manufacturer’s website or app for updates that may fix bugs.
Maintenance Tips to Prevent Issues
- Clean after every use: Prevent milk residue buildup that can clog parts.
- Use recommended milk types: Check your manual for best results.
- Store properly: Keep frother dry and away from extreme temperatures.
- Regular inspection: Look for wear and tear on cords and parts.
When to Contact Customer Support or Replace Your Frother
If your electric milk frother continues to malfunction after following these troubleshooting steps, it might be time to contact customer support. Warranty-covered repairs or replacements may be available. Also, consider replacement if the frother is old or parts are no longer available.
Conclusion
Electric milk frothers make coffee time special, and most problems are easy to fix with a little know-how. By following this electric milk frother troubleshooting guide, you can solve common issues quickly and safely. Remember to clean regularly, use the right milk, and check power connections. With proper care, your frother will keep delivering creamy, delicious foam for years to come!
🎥 Related Video: Frother repair trick #shorts
📺 Sid Simple DIY
Whenever the spring pops off of your milk for author, the simple video show you how to fix it. You can very carefully pull the plastic …

