
In this guide, you’ll learn expert electric milk frother foam techniques to make barista-quality coffee at home. From choosing the right milk to perfect frothing methods, we’ll cover all the steps to help you create silky, smooth foam for lattes, cappuccinos, and more.
Key Takeaways
- Understand your frother: Different electric frothers work best with specific techniques and milk types.
- Milk selection matters: Whole milk produces creamier foam; alternatives require adjusted techniques.
- Temperature control: Froth milk between 140°F and 160°F for optimal texture and taste.
- Foaming techniques vary: Learn to create microfoam for silky lattes or thick foam for cappuccinos.
- Practice makes perfect: Consistency improves with practice and attention to detail.
- Troubleshoot common issues: Avoid watery or bubbly foam with simple fixes.
- Cleaning is crucial: Proper maintenance ensures your frother lasts and performs well.
Master Electric Milk Frother Foam Techniques for Perfect Coffee
If you love coffee, you know that the foam on top makes all the difference. With an electric milk frother, you can create café-quality foam at home. This guide will teach you how to master electric milk frother foam techniques to produce smooth, creamy foam every time. Whether you want to make a latte, cappuccino, or simply enjoy frothed milk in your coffee, you’ll find practical steps, tips, and troubleshooting advice here.
Why Use an Electric Milk Frother?
Electric milk frothers are easy to use and consistent. They heat and froth milk automatically, making them perfect for beginners and coffee enthusiasts alike. Unlike manual frothing, electric frothers save time and effort while giving you control over foam texture.
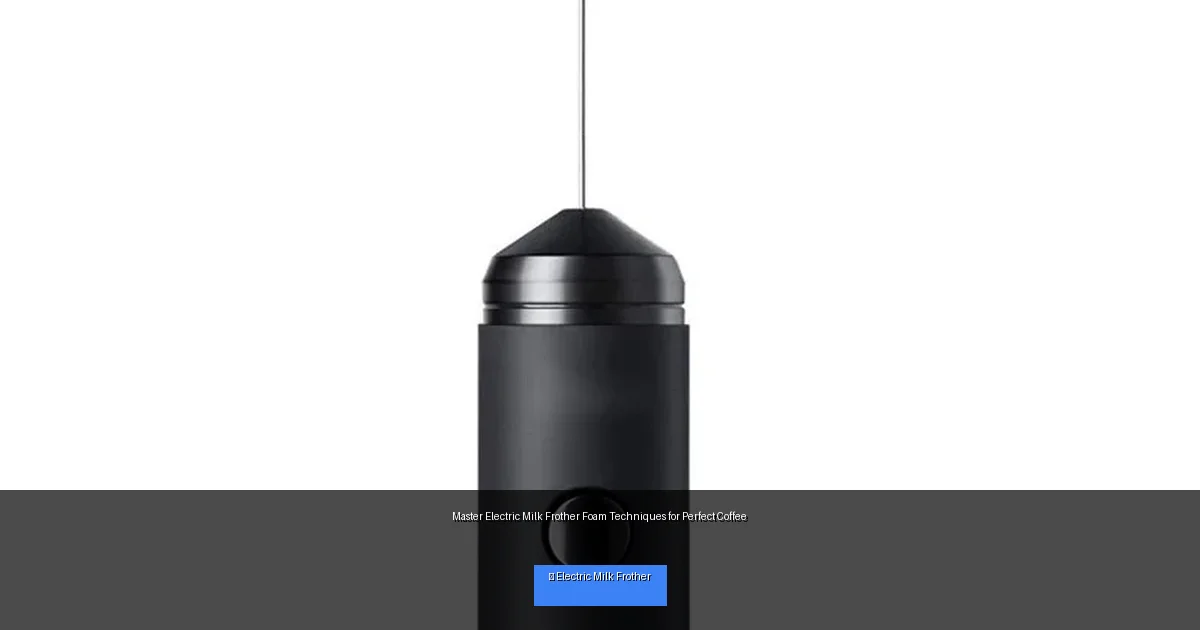
Visual guide about Master Electric Milk Frother Foam Techniques for Perfect Coffee
Image source: images.nexusapp.co
Step 1: Choose the Right Milk
Whole Milk for Creamy Foam
Whole milk is the best choice for rich, creamy foam. Its higher fat content helps create a smooth, velvety texture that holds well on your coffee.
Low-Fat and Plant-Based Alternatives
Low-fat milk produces lighter foam but less creamy. For plant-based options like almond, oat, or soy milk, look for barista blends formulated for frothing. These tend to froth better and hold foam longer.
Cold, Fresh Milk Works Best
Always start with cold, fresh milk. Cold milk froths more evenly and allows the frother to heat it to the ideal temperature.
Step 2: Prepare Your Electric Milk Frother
Read the Manual
Each frother model has specific instructions. Familiarize yourself with your device’s settings and capacity limits.
Clean the Frother
Before use, ensure your frother is clean and dry. Residue can affect foam quality.
Measure Your Milk
Pour the recommended amount of milk according to your frother’s guidelines. Avoid overfilling to prevent spills and poor frothing.
Step 3: Frothing Techniques for Perfect Foam
Creating Microfoam for Lattes
Microfoam is smooth and silky with tiny bubbles, perfect for latte art. Use whole milk and select the “heat and froth” setting if available. Allow the frother to work fully before pouring gently into your coffee.
Producing Thick Foam for Cappuccinos
Cappuccinos require dense, thick foam. Some frothers have a “froth only” option that creates more air bubbles. Use this setting and then heat separately if needed.
Manual Frother Adjustment
If your frother has speed or frothing level controls, experiment to find the setting that produces your desired foam texture. Start with medium speed and adjust accordingly.
Tip: Use Freshly Frothed Milk Immediately
Milk foam settles quickly. Pour and enjoy your coffee right after frothing to retain the best texture.
Step 4: Temperature Control for Ideal Foam
Optimal Temperature Range
Milk froths best between 140°F and 160°F (60°C – 70°C). Temperatures above this can scald milk, ruining taste and texture.
How to Check Temperature
Many electric frothers auto-heat to the right temperature. If yours doesn’t, use a kitchen thermometer or touch the exterior carefully to gauge heat.
Cooler Milk Frothing
For iced coffee or cold foam, use the “cold froth” setting if available or froth cold milk manually after chilling.
Step 5: Pouring and Serving
Pouring Techniques
Pour the frothed milk gently over your coffee. For latte art, pour slowly and steadily to create designs. For cappuccinos, spoon the thick foam on top.
Mixing Foam and Milk
Some prefer to stir the foam into the milk for a smoother texture, while others like clear layers. Try both to find your favorite style.
Practical Tips for Better Frothing
- Use fresh milk: Old or warmed milk won’t froth well.
- Don’t overfill: Leave space for milk to expand when frothing.
- Clean regularly: Prevent buildup that affects foam quality.
- Experiment with milk types: Find what works best for your taste and frother model.
- Practice pouring: Presentation enhances your coffee experience.
Troubleshooting Common Frothing Issues
Foam is Too Watery
This usually means the milk wasn’t frothy enough or milk type isn’t suitable. Try using whole milk and ensure the frother is clean.
Foam Bubbles are Too Large
Large bubbles indicate too much air. Use the “heat and froth” setting for smoother microfoam or reduce frothing time.
Milk Doesn’t Froth
Check if your frother is working properly and if the milk is cold and fresh. Some plant-based milks don’t froth well unless barista-specific.
Milk Overflows or Spills
Don’t exceed the frother’s maximum fill line. Use smaller amounts for better results.
Cleaning and Maintenance
To keep your electric milk frother in top shape, clean it after each use. Wipe the interior with a damp cloth and wash removable parts according to the manual. Regular maintenance prevents bacterial growth and foam quality degradation.
Conclusion
Mastering electric milk frother foam techniques takes a bit of practice but transforms your coffee routine. By choosing the right milk, understanding your frother, controlling temperature, and perfecting your frothing method, you can create professional-quality foam every time. Remember to clean your frother regularly and don’t be afraid to experiment. Soon, you’ll be enjoying café-style lattes and cappuccinos from the comfort of your home!
🎥 Related Video: Latte art pour hack
📺 Golden Brown Coffee

